
Blog · Stucco
How Is Stucco Applied? The Three-Coat Process Step by Step
Stucco goes on in three coats over wire lath, and the cure time between them matters more than the plaster itself. Here is the full process as a crew actually runs it on a New Mexico home.
Contents
Stucco is applied in three coats over a wire lath base: a scratch coat, a brown coat and a finish coat. Together they build up to about 7/8 of an inch of cement plaster, and the whole process takes one to two weeks because each coat has to cure before the next one goes on.
That's the short version. The long version matters, because how stucco is applied decides whether the wall lasts 80 years or cracks and takes on water inside 15. Most stucco failures trace back to something that went wrong during application, usually a rushed cure, a skipped detail or a coat that went on too thin.
This guide walks through the full process the way a crew actually does it on a New Mexico home: wall prep, lath, each of the three coats, curing times in our heat, textures and colors, how stucco goes over existing block or old stucco, and the shortcuts that cause problems later.
How Is Stucco Applied? The Short Version
A traditional three-coat stucco system has four physical layers even though only three of them are called coats. First comes the lath, a weather-resistive paper and metal wire mesh fastened to the wall. Then the scratch coat, roughly 3/8 inch of cement plaster pressed into the lath and raked with horizontal grooves. Then the brown coat, another 3/8 inch that levels the wall flat. Then the finish coat, about 1/8 inch that carries the texture and color.
Over concrete block or masonry, the lath is often skipped and stucco is applied as a two-coat system directly to the block: one base coat and one finish coat. That's common on block homes across Las Cruces and Doña Ana County.
Either way, the principle is the same. Each coat bonds to the one below it, and each one needs time to cure before the next goes on.
Step 1: Preparing the Wall
Before any plaster is mixed, the wall gets a set of details that decide how the finished stucco handles water.
On a framed wall, sheathing gets covered with a weather-resistive barrier, usually two layers of Grade D building paper or a paper-and-housewrap combination. This is the drainage plane. Any water that gets through the stucco runs down this layer instead of into the wall.
Then the accessories go on. Weep screed runs along the base of the wall and lets water that reaches the paper drain out the bottom. Corner aid reinforces outside corners so they stay straight and don't chip. Casing beads frame windows and doors and give the stucco a clean stopping edge. Expansion joints get placed at intervals and at natural stress points so the cured stucco can move without cracking randomly across the wall.
Skipping any of these is the most common way stucco gets applied wrong, and none of them are visible once the finish coat is on.
Step 2: Installing the Lath
Metal lath, either expanded metal or woven wire, is fastened over the paper with nails or staples driven into the studs. It's installed with furring, meaning it's held slightly off the wall so plaster can push behind it and fully encase the wire.
That embedment is the whole point of lath. The scratch coat has to lock around the metal so the cured stucco becomes a reinforced shell rather than a thin skin sitting on top of wire. Lath that's nailed flat against the paper, or plaster that's applied too thin to wrap around it, produces stucco that delaminates and cracks.
Step 3: The Scratch Coat
The first plaster coat is a site-mixed blend of Portland cement, hydrated lime, sand and water, applied by hand with a hawk and trowel or sprayed on with a mortar pump and worked by hand. It goes on at roughly 3/8 inch and is pressed firmly into the lath so the wire is fully buried.
While the surface is still wet, the crew rakes horizontal grooves into it with a scratcher. Those grooves give the brown coat something to grip.
Then it cures. The scratch coat needs 24 to 48 hours minimum before the brown coat goes on, and in dry heat it has to be kept moist during that window. A crew that lets the scratch coat dry out too fast gets shrinkage cracks that telegraph through every coat above it.
Step 4: The Brown Coat
The brown coat is the leveling coat. It's the same cement mix, applied at another 3/8 inch over the scratched surface, then floated with a darby or straightedge to bring the whole wall into a flat, true plane. Any bumps or dips in the framing get corrected here. The surface is floated to a uniform texture that the finish can bond to.
This is the coat that decides whether the finished wall looks straight. It's also the coat that does most of the system's shrinkage, which is why it gets the longest cure.
Step 5: The Finish Coat
The finish coat is what you actually see. It's thin, roughly 1/8 inch, and it comes in two families.
Cement finish uses white Portland cement with iron oxide pigments mixed in for color. It's the traditional choice, it breathes well, and it weathers to a natural look over time.
Acrylic finish is a polymer-based product applied over the cured brown coat. It's more flexible, resists hairline cracking better, holds color longer and offers a wider palette. It costs more and it's less breathable. Acrylic finishes are also what sits on top of EIFS, which is a different wall system entirely despite the similar look.
Texture is set in this coat. Common options in the Southwest include smooth (troweled flat), sand or float finish, dash (sprayed for a pebbled look), lace, and the skip-trowel or Santa Fe finish that gives Pueblo-style homes their soft, hand-formed look. On our stucco projects, the finish is matched to the architecture and to any existing stucco on the building.
One rule crews follow: the finish coat is never misted. Wetting a colored finish causes blotchy, uneven color. That means waiting for the right weather window rather than rushing it.
How Long Does Stucco Application Take?
For a typical house, plan on one to two weeks from lath to finished wall, with most of that time being cure rather than labor. A rough sequence:
- Day 1 to 2: paper, accessories and lath
- Day 2 to 3: scratch coat, then 24 to 48 hours moist cure
- Day 4 to 5: brown coat, then a minimum of 7 days cure
- Day 12 to 14: finish coat
New Mexico weather changes the details. Our low humidity and high heat pull water out of fresh plaster fast, so misting schedules are more aggressive here than in humid climates. Crews often start early to avoid applying plaster in direct afternoon sun, and finish coats get scheduled around wind, since blowing dust ruins a fresh finish. The cure windows don't get shorter because it's hot. If anything, they get longer.
How Is Stucco Applied Over Existing Stucco or Block?
Not every job starts with bare framing.
Over concrete block or masonry, stucco is usually applied as a two-coat system without lath. The block is cleaned, dampened, and sometimes coated with a bonding agent. A base coat goes on directly, cures, and then receives the finish coat. This is how most block homes in the region were done originally.
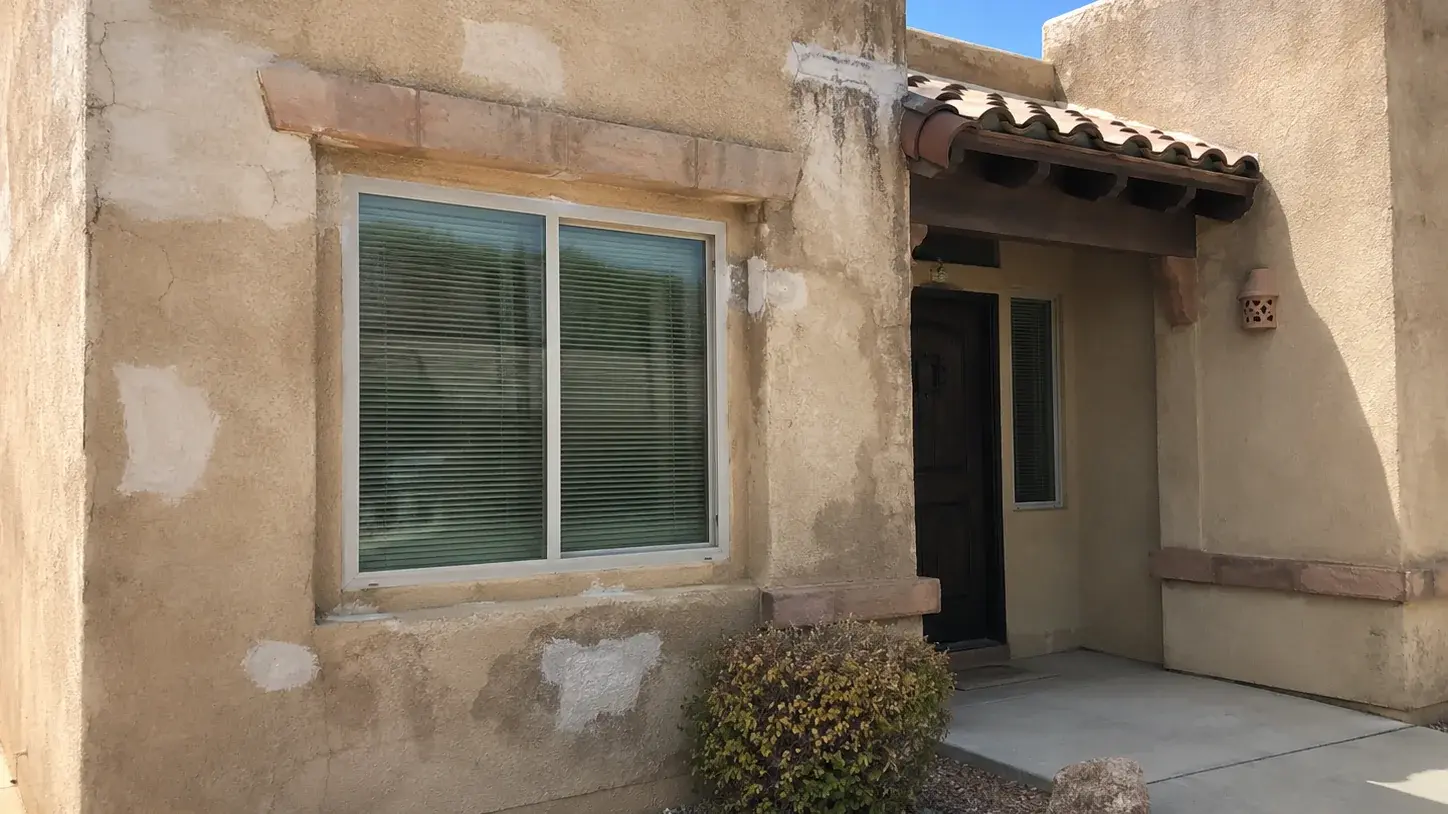
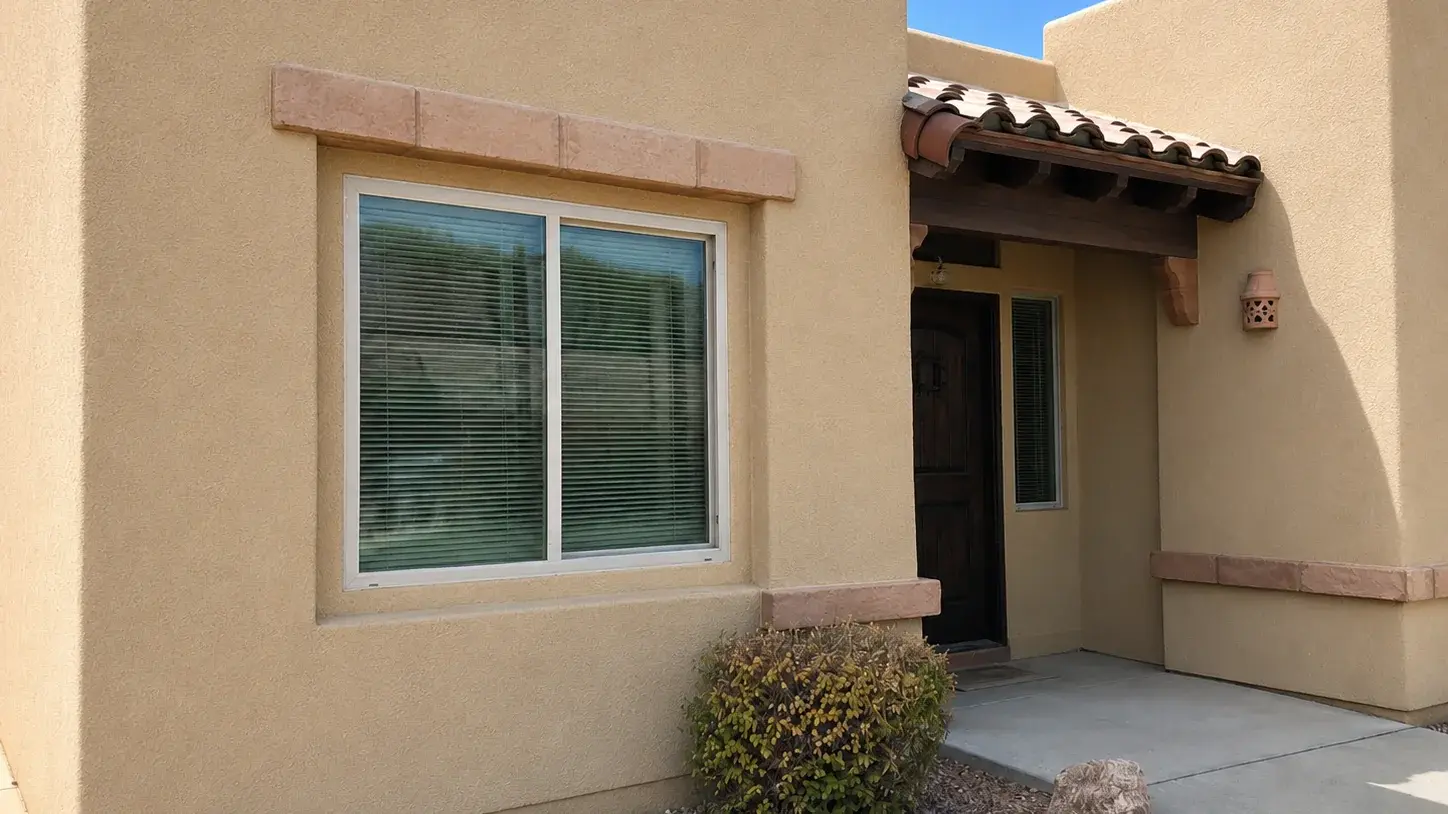
Over existing stucco, the process depends on condition. Sound stucco with cosmetic issues can be recoated: the surface is cleaned, cracks are repaired, a bonding agent is applied and a new finish coat goes over the top. Stucco that's hollow, delaminating or holding moisture has to be removed back to the lath or the block before anything new is applied. Recoating over failing stucco just hides the problem for a few years. Our guide to how long stucco lasts covers how to judge which case you're in.
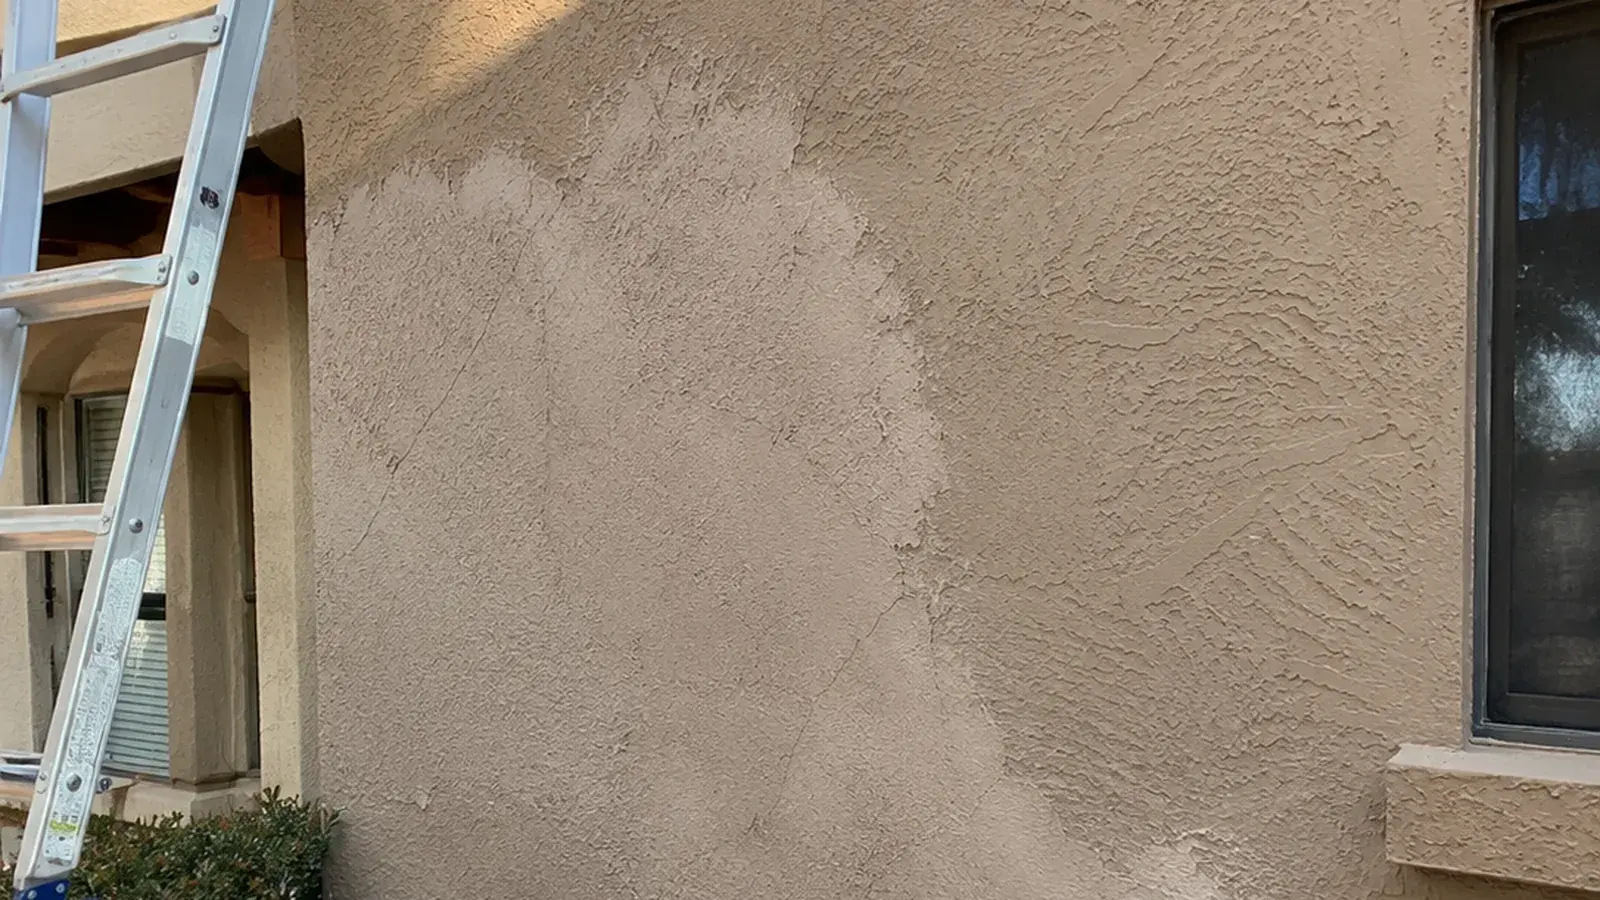
Patching and repair follows the same three-coat sequence in miniature. The damaged area is cut out, new lath is tied in, and scratch, brown and finish are rebuilt in order with the texture blended into the surrounding wall.
What Goes Wrong When Stucco Is Applied Badly
Nearly every stucco problem we see on a service call comes back to how the stucco was applied.
- Rushed curing. Brown coat finished on day three instead of day seven. The result is a map of shrinkage cracks across the wall within the first year.
- Thin coats. Base coats stretched to 1/4 inch to save material. The lath isn't embedded, the wall sounds hollow, and it cracks under thermal movement.
- No expansion joints. The wall has no planned place to move, so it cracks wherever it wants, usually diagonally from window corners.
- Missing or buried weep screed. Water reaches the paper and has no way out. It sits at the base of the wall and rots the sheathing.
- Stucco run over flashing. At roof-to-wall transitions and parapets, plaster applied over the top edge of flashing wicks water behind the system. This is where a stucco problem and a roof leak become the same problem, and it's why a professional roof and exterior inspection looks at both.
- Finish coat applied in the wrong weather. Blotchy color, dust embedded in the surface, or a finish that cracks because the base coat underneath wasn't done curing.
Every one of these is invisible on the day the job is finished. All of them show up later.
The Bottom Line on How Stucco Is Applied
So, how is stucco applied? Paper and lath first, then a scratch coat raked for grip, a brown coat floated flat, and a thin finish coat for texture and color, with proper moist curing between each. Three takeaways:
- The three coats total about 7/8 inch, and thickness matters. Thin stucco is weak stucco.
- Curing time is not negotiable. The brown coat needs at least seven days, and New Mexico heat makes misting more important, not less.
- The details you can't see, weep screed, expansion joints, flashing and lath embedment, decide how the wall performs for the next 50 years.
Contact Gilbert & Sons Roofing and Stucco
Gilbert & Sons Roofing and Stucco is a licensed, insured and bonded contractor serving Las Cruces and Doña Ana County since 2010. We apply traditional three-coat stucco and EIFS on new construction, recoat and repair existing stucco, and handle the parapet and roof-to-wall details that most stucco crews leave to someone else. Whether you're finishing a new build or fixing a wall that was applied wrong the first time, call 575-649-2316, email gilbertandsons2010@gmail.com, or request an estimate through our contact page and we'll walk the property and give you a clear scope and quote.