
Blog · Roofing
How to Find a Roof Leak: Why the Stain Is Never Under the Hole
Start at the stain, trace the water uphill through the attic, then check flashing and parapets above that spot. The entry point is rarely where the drip is.
Contents
To find a roof leak, start inside at the stain, trace the water uphill through the attic to where it enters the deck, then check the roof directly above that spot. On a stucco home or a flat-roofed building, check the parapets and roof-to-wall transitions before the open field of the roof, because that's where most leaks here actually begin.
The reason this takes a method rather than a glance is simple: the stain on your ceiling is almost never under the hole in your roof. Water enters, runs along a rafter, follows the underlayment downhill, crosses a ceiling joist and drops where gravity finally wins. The entry point can be ten or twenty feet from the drip.
This guide walks through how to find a roof leak step by step: how water travels, what to look for inside, how to read the attic, what to check on the roof, the most common sources ranked, the specific places flat roofs and stucco homes leak, how a roofer isolates it with water, and when to stop looking and call.
Why the Leak Is Never Where the Stain Is
Water takes the path of least resistance, and on a roof that path is almost always sideways and downhill before it's down.
Rain gets past the roofing at a failed flashing or a cracked tile. It lands on the underlayment and runs down the slope. It hits a lap, a nail or a seam and gets through to the deck. It follows the deck to a rafter, runs along the rafter, and drops onto the insulation. It soaks through the insulation to the drywall, spreads, and finally stains at the lowest point, often at a joint between sheets or at a light fixture.
Every one of those steps moves the water away from the entry. On a flat roof it's worse, because water can travel the full length of the building between the membrane and the deck before it finds a way down. On a stucco home, water entering at a parapet cap can run inside the wall for a story before it shows at a window head.
Step 1: Start Inside
Before going anywhere near the attic or the roof, gather evidence from the stain itself.
Map it. Note the exact location relative to exterior walls, the roof ridge, chimneys and any rooftop equipment. A stain near an exterior wall points at flashing or a parapet. One near the center of a room points at a penetration or a field leak upslope.
Note when it appears. This is the single most useful diagnostic.
- *During rain, immediately:* an open hole or failed seam close to the stain.
- *Hours after rain stops:* water is traveling a long way, or ponding somewhere and draining slowly. Common on flat roofs.
- *Only in wind-driven rain:* water is being pushed under laps or past flashing. Points at wall transitions and edges.
- *Only in winter or on cold mornings:* possibly condensation in the attic, not a roof leak at all.
- *After an HVAC service visit or a satellite install:* foot traffic broke a tile or punctured the membrane.
Check the walls. On a stucco home, look at the inside of exterior walls near the stain for bubbling paint or soft drywall. That's water in the wall, which points at the parapet or roof-to-wall flashing rather than the roof field.
Step 2: Check the Attic
If you have attic access, this is where leaks get found. Go during or right after rain if you can, with a bright flashlight.
What to look for:
- Wet or stained decking. Fresh water is dark and shiny. Old leaks leave gray or black rings.
- Water trails on rafters. A dark line running down a rafter is a map. Follow it uphill to where it starts.
- Daylight. Turn off the flashlight. Any pinpoint of light is a hole.
- Wet or compressed insulation. Lift it where the stain is below and look at the deck above.
- Rusty nail tips or dripping nails. Often condensation, but a cluster of them under a specific area can mark a leak.
- Mold or dark staining on the underside of the deck near valleys, walls and penetrations.
Trace uphill. Water runs down. Wherever you find it, the entry is above. Follow the trail up the rafter until it stops, then measure that spot from a reference point (the ridge, a vent pipe, the chimney) so you can find the same spot on the roof.
If there's no attic, as on most flat-roofed Pueblo homes and commercial buildings, skip to the roof-specific sections below.
Step 3: Inspect the Roof Above
Once you have a spot, look at the roof directly above it and uphill from it. Do this from the ground with binoculars or from a ladder at the eave. Walking a roof while looking for a leak is how homeowners get hurt and how tiles get broken.
Check, in order:
- Wall intersections nearest the leak: step flashing, counterflashing, kickout at the bottom.
- Penetrations uphill: pipe boots, vents, skylights, HVAC lines.
- Chimney: flashing on all four sides, cricket behind it, cap and crown.
- Valleys that drain toward the leak.
- The field: missing, lifted, cracked or curled shingles; cracked, slipped or missing tiles; punctures or open seams on a membrane.
- Edges: drip edge, eave closures, rake trim.
Most leaks are in the first three items. The field of the roof is the last place to look, not the first.
The Most Common Roof Leak Sources, Ranked
From what shows up on repair calls in Las Cruces, roughly in order:
- Flashing. Step flashing, counterflashing and kickout at stucco walls, plus chimney and skylight flashing. The number one source on every roof type. If you're not sure what you're looking at, start with what roof flashing is.
- Parapet caps and terminations on flat roofs. Cracked stucco caps, failed counterflashing, membrane pulling away.
- Pipe boots and vent collars. The rubber dries out in UV and splits.
- Clogged scuppers, canales and drains. Water backs up, ponds and finds the first weak seam.
- Cracked, slipped or missing tiles exposing underlayment that then fails.
- Failed underlayment on an older tile roof, with every tile intact.
- Seam separation on TPO, PVC or modified bitumen.
- Missing or lifted shingles after wind.
- Skylights: failed seals at the curb or the glazing.
- Exposed fasteners on metal roofs with dried-out washers.
Notice that the actual roofing material doesn't show up until item five. If you're learning how to find a roof leak, that ranking is the most useful thing on this page.
Finding Leaks on a Flat Roof
Flat roofs leak differently and the leaks travel farther.
Start at the drains. Walk the perimeter and check every scupper and canale for debris. A blocked drain means water ponded, and ponding finds every weak seam within reach.
Look for ponding rings. Dried water lines on the membrane show where water sat. Leaks are usually inside or at the edge of those rings.
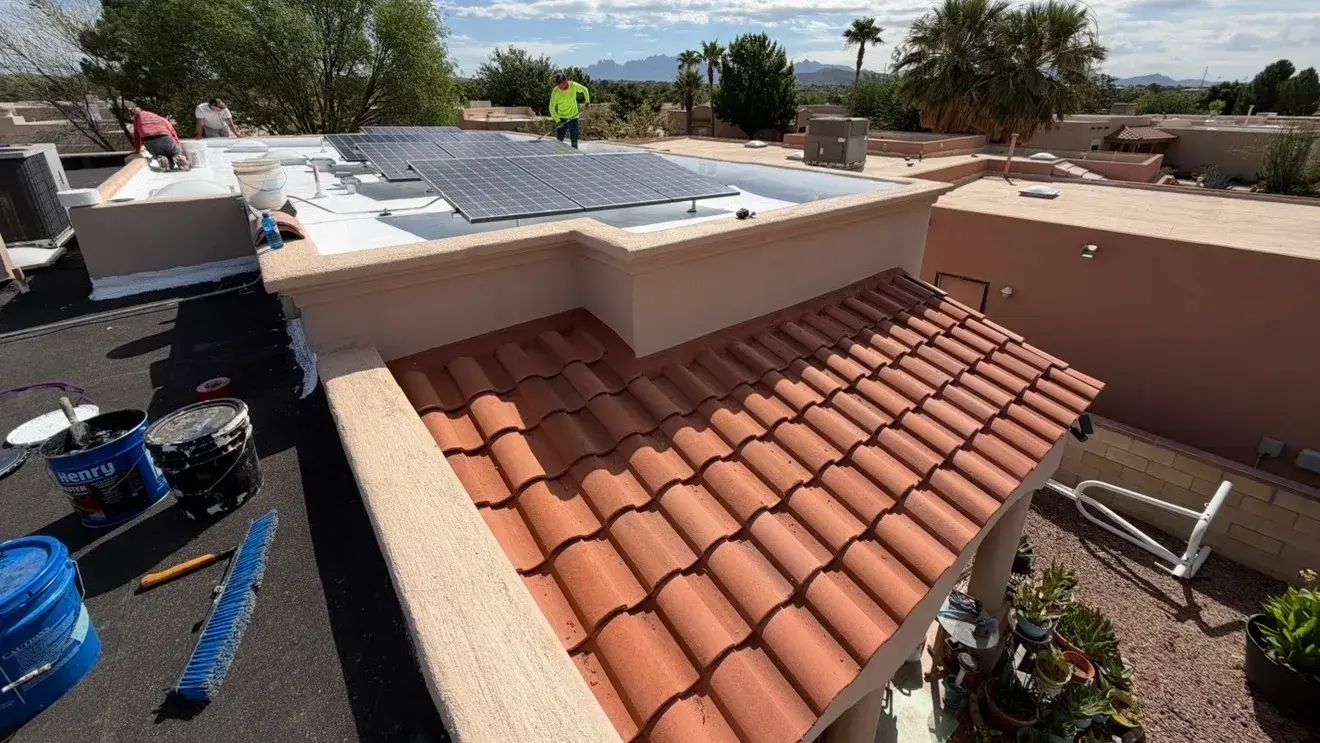
Check the parapets. Cracked caps, stains on the inside face, membrane pulling away at the top edge, cracked stucco around scuppers. On a Pueblo-style home, the parapet is the first suspect for any leak near an exterior wall, and parapet repair is usually the fix.
Walk the seams. On TPO and PVC, look for lifted edges and probe seams gently. On modified bitumen, look for open laps and blisters.
Check around rooftop equipment. HVAC curbs, condensate lines and anywhere a technician has walked.
On a coated roof, look for cracks at details, thin spots showing the substrate, and areas where the coating has lifted.
Flat roof leaks often need a roof repair at the parapet rather than the membrane, which is why calling someone who does both roofing and stucco saves a second visit.
Finding Leaks on a Stucco Home
Stucco homes have a category of leak that isn't a roof leak at all, and knowing how to spot it saves a lot of wasted roof repairs.
Look at the stucco below the roofline. Dark staining, efflorescence (white mineral streaks), bubbling paint or soft spots on a wall directly below where a roof meets it mean water is getting behind the stucco at the transition. The roof may be fine. The flashing where it meets the wall is not.
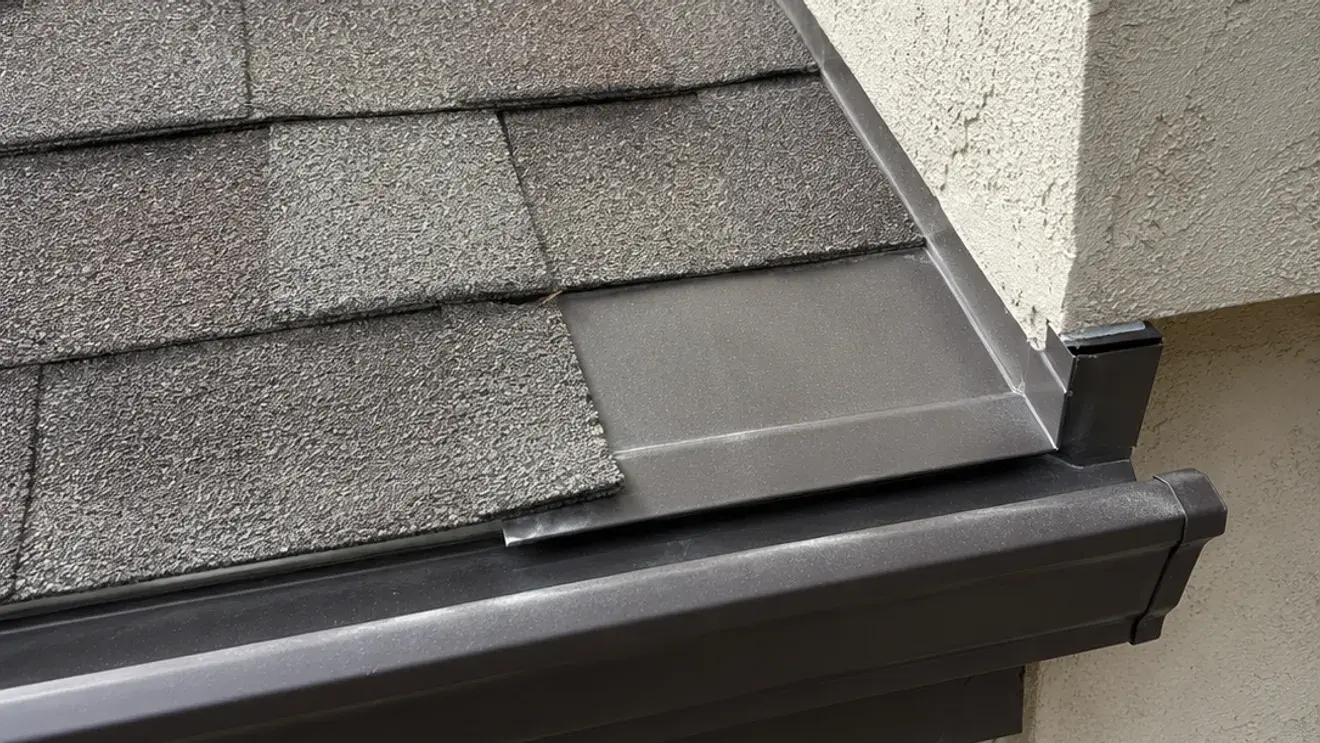
Check for kickout flashing. At the bottom of every roof-to-wall intersection there should be a small angled piece diverting water into the gutter. If it's missing, water runs down the wall face behind the stucco. This is one of the most common findings on older homes in the region.
Look at whether stucco runs over the flashing. If the stucco comes down and covers the top edge of the step flashing instead of stopping above it, water wicks behind the stucco. This is a stucco installation error that shows up as a "roof leak."
Check window heads below the roofline. Water entering at a parapet or wall transition often shows up first at the top corners of a window a story below.
When the water is in the wall, the repair involves opening the stucco, correcting the flashing and rebuilding the wall, not patching the roof.
The Water Test
When visual inspection doesn't find it, a roofer isolates the source with a hose. One person is in the attic or inside with a flashlight. The other runs water on the roof, starting at the lowest suspect area and working uphill, one section at a time, several minutes per section. The moment water appears inside, the section being wetted is the source.

It's methodical, it takes an hour or two, and it works. It's also a job for a professional on a tile roof, where walking breaks tiles, and on a flat roof, where the leak can be far from where it shows and the test has to be sequenced carefully.
When to Stop Looking and Call Someone
- Water is coming in now and more rain is forecast. That's an emergency roofing call, not a search. Here's what emergency roof repair involves and what to do while you wait.
- Water is near electrical fixtures. Cut the breaker and call.
- The ceiling is sagging. Structural, not diagnostic.
- You've checked the attic and the roof from the ground and found nothing. Two honest attempts is enough. The next step is a professional roof inspection with a water test.
- It's a tile roof, a flat roof, or a two-story roof. The risk of walking it outweighs the benefit of looking yourself.
- The leak comes back after a repair. The repair fixed a symptom. The source is elsewhere.
The Bottom Line on Finding a Roof Leak
So, how to find a roof leak? Start at the stain, note when it appears, trace the water uphill in the attic to the entry point, then check flashing, parapets and penetrations above that spot before the roof field. Three takeaways:
- The stain is never under the hole. Water travels down rafters, across decks and along walls before it drops.
- Flashing, parapets and pipe boots cause most leaks. The roofing material itself is well down the list.
- On a stucco home, stains on the wall below the roofline mean the leak is at the transition, and the fix is in the stucco and flashing, not the roof.
Contact Gilbert & Sons Roofing and Stucco
Gilbert & Sons Roofing and Stucco is a licensed, insured and bonded contractor serving Las Cruces and Doña Ana County since 2010. Finding leaks on stucco and flat-roofed buildings is most of what we do, and because we handle both the roof and the wall, we fix the source instead of the symptom. If you've got a stain you can't trace, call 575-649-2316, email gilbertandsons2010@gmail.com, or request an estimate through our contact page and we'll inspect the roof, the parapets and the wall transitions together.